
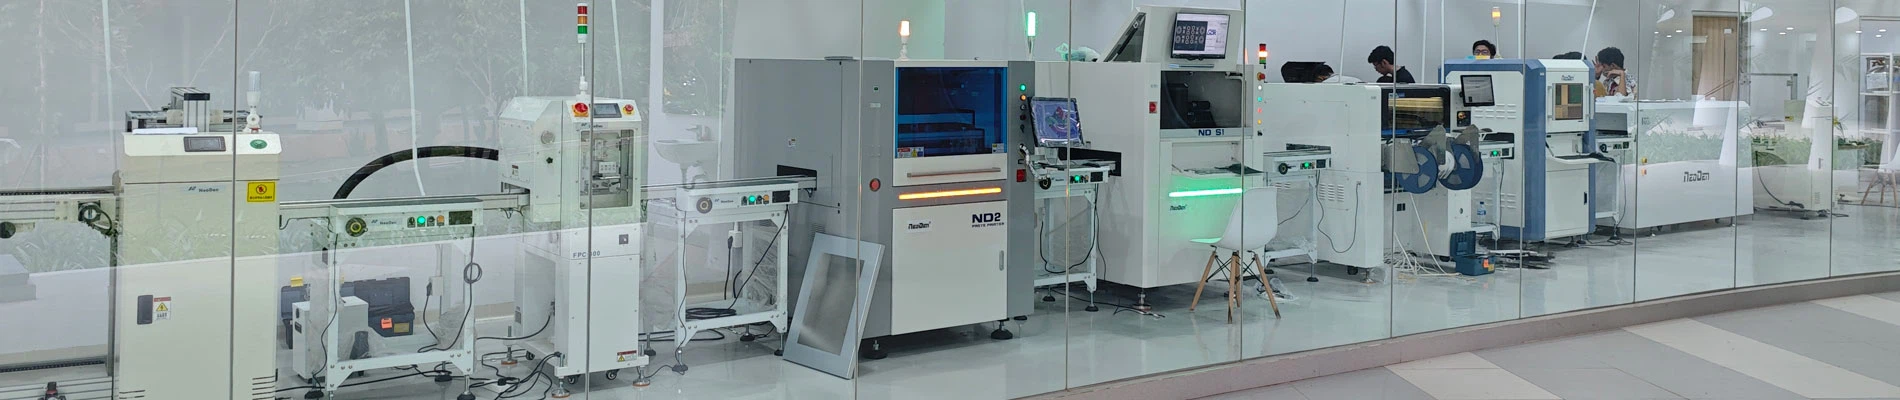

Introduction: Why Do Pre-Production Setups Determine SMT Printing Quality?
In the SMT (Surface Mount Technology) production process, solder paste printing is the first critical step that affects PCB assembly yield. Even if the subsequent SMT placement machines and reflow ovens perform reliably, issues such as misalignment, insufficient solder, solder paste residue, or uneven printing during the solder paste printing stage can directly lead to component placement errors and soldering defects.
Therefore, before a fully automatic solder paste printer is put into full-scale production, engineering personnel must complete a standardized setup process, including equipment initialization, PCB parameter configuration, stencil installation, vision alignment, printing parameter adjustment, and first-piece verification.
Taking the NeoDen ND450 fully automatic solder paste printer as an example, its pre-production setup primarily focuses on equipment initialization, PCB-to-stencil matching, vision alignment, and printing process parameter configuration. A standardized setup process reduces changeover time, improves first-piece yield, and ensures stable continuous production.

Step 1: Check Equipment Status Before Power-On
Before starting the fully automatic solder paste printer, first confirm that the shipping protective components have been removed, and check that the equipment's operating environment, power supply, and air supply connections are normal.
1. Remove Shipping Brackets and Protective Film
To prevent internal moving parts from shifting during transport, the ND450 is equipped with auxiliary shipping brackets when it leaves the factory.
Before officially powering on the machine, you must:
- Remove the auxiliary shipping brackets.
- Remove the protective film from the machine.
- Install the alarm light assembly.
Failure to remove the shipping brackets may result in abnormal machine operation or mechanical damage.
2. Check Power and Air Supply Connections
Before starting the equipment, verify that:
- The input power supply meets the equipment's requirements.
- The equipment is properly grounded.
- The air supply lines are connected correctly.
The ND450 has specific requirements for air supply pressure:
- The external air supply pressure must not be lower than 0.6 MPa.
- The operating pressure is recommended to be adjusted to approximately 0.55 MPa.
To adjust the pressure, first turn the adjustment knob to make the change, then press the knob to lock it in place.
Step 2: Perform Equipment Initialization and Load the Production File
After completing the hardware inspection, turn on the equipment power to enter the control system initialization phase.
1. Perform Machine Homing
The first step after powering on the equipment is typically to perform Machine Homing.
This function:
- Returns all motion axes to their zero positions.
- The system establishes an initial position reference.
- The track width is automatically detected.
NeoDen ND450 User Manual clearly states that Machine Homing returns all motion axes to the zero point and automatically detects the track width.
During production, if the equipment has undergone maintenance, cleaning, or an unexpected shutdown, it is also recommended to re-execute the Machine Homing operation to ensure positional accuracy.
2. Load the Production Program
After initialization is complete, load the corresponding PCB product file.
The ND450 supports:
- Open File: Load an existing production file.
- Import from USB: Import a production file via a USB flash drive.
- Export to USB: Export a production file for backup.
In production environments with multiple product varieties and small batches, creating standardized production files in advance can significantly reduce changeover and setup time.
Step 3: Set PCB and Stencil Parameters
Configuring PCB and stencil parameters is essential for ensuring the equipment operates correctly.
1. Enter PCB and Stencil Dimensions
In the Board Entry parameter settings interface, enter the following:
- PCB length.
- PCB width.
- PCB thickness.
- Stencil dimensions.
After entering accurate data, click "Auto Calculation" to allow the system to perform the relevant calculations based on the actual dimensions.
2. Adjust Rail Width and PCB Support
After completing the dimension settings, you need to:
- Adjust the rail width.
- Place the PCB thimble block (pin support block).
- Load the PCB.
- Verify the platform's vertical movement and the PCB clamping status.
ND450 Operating Procedure Requirements:
- Adjust the rail width according to the PCB's condition.
- Position the PCB support blocks appropriately.
- Verify that the PCB clamp can securely hold the PCB.
Insufficient support may cause the PCB to deform under printing pressure, thereby affecting solder paste printing quality.
3. Install and Secure the Stencil
After installing the stencil, you must:
- Activate the Mesh Rack Lock.
- Activate the Stencil Lock.
- Verify that the stencil is securely fastened.
ND450 User Manual Requirements:
After installing the stencil, secure it using the locking mechanism and check that it is fully secured.
An unstable stencil may shift during printing, causing solder paste misalignment.
Step 4: Configure the Vision Alignment System
Fully automatic solder paste printers rely on a vision system to achieve precise alignment between the PCB and the stencil.
1. Set Mark Point Recognition Parameters
In the Adjustment Parameter settings, complete the following:
- Lock Mark1 and Mark2.
- Set the recognition range.
- Adjust the Diameter and Roundness parameters.
The ND450 supports adjusting recognition parameters based on the actual conditions of the mark points to improve recognition stability.
- If mark points are present on both the PCB and the stencil: Select Dual Shot mode.
- If there are no mark points on the stencil: Select Single Shot mode.
2. Adjust Alignment Accuracy
If the first-piece print shows systematic offset, you can optimize it using:
- Maximum Precision.
- Manual Offset.
The ND450 supports adjusting accuracy via Maximum Precision and correcting fixed-direction offsets via Manual Offset.
Step 5: Set Cleaning and Printing Parameters
After completing the mechanical and vision settings, adjust the printing parameters according to the product's process requirements.
1. Set Automatic Cleaning Parameters
The ND450 provides Cleaning Parameter settings.
These primarily include:
- Cleaning Start Point.
- Cleaning End Point.
- Cleaning Paper parameters.
Manual Recommendation:
Set the Cleaning Paper parameter to 15.
Proper automatic cleaning settings can reduce solder paste residue at the bottom of the stencil and improve the stability of continuous printing.
2. Set Printing Parameters
Printing parameters primarily include:
Printing Speed
ND450 Recommendation: Printing Speed: 10
Printing Start and End Positions
When setting the Printing Start/End Positions, ensure that:
The squeegee fully covers the stencil aperture area.
The machine runs an additional 10 mm after printing is complete.
Demolding Parameters
Demolding parameters directly affect solder paste release performance.
If the solder paste has high flowability, you can appropriately increase the "Pause Before Demolding" setting.
ND450 Recommendation: 1000–3000 ms.
Step 6: Proceed to Mass Production After First-Piece Verification
After completing all parameter settings, it is not recommended to proceed directly to mass production. Instead, perform first-piece verification first.
1. Inspect the printing results on the first PCB
Key points for first-piece inspection include:
Solder paste coverage
Verify that the solder paste accurately aligns with the PCB pad locations.
Solder Paste Profile
Check whether the solder paste edges are intact and inspect for:
- Insufficient solder.
- Solder peaks.
- Collapsed edges.
Printing Offset
Verify whether there is any overall offset between the PCB and the stencil.
If a consistent directional offset occurs, it can be adjusted using Manual Offset.
Common Errors in Fully Automatic Solder Paste Printer Setup
1. Machine Homing Not Performed
The equipment has not completed initialization, which may result in abnormal motion positions.
2. Insufficient PCB Support
Improper placement of support pins can cause the PCB to warp during the printing process.
3. Stencil Not Fully Secured
If the stencil is not securely fastened, it can cause misalignment during printing.
4. Improper Mark Point Settings
Mismatched recognition parameters can result in failed vision alignment.
5. Directly Applying Printing Parameters from Old Programs
Since PCBs, stencils, and solder paste processes vary, parameters must be adjusted based on actual conditions.

Conclusion
The production quality of a fully automatic solder paste printer depends largely on whether the equipment is properly configured before mass production begins.
A complete setup process includes:
- Pre-startup equipment inspection.
- Machine Homing initialization.
- PCB and stencil parameter configuration.
- Mark point vision calibration.
- Cleaning and printing parameter settings.
- First-piece verification.
For fully automatic precision solder paste printers such as the NeoDen ND450, a standardized setup process helps SMT factories reduce machine setup time, improve production consistency, and establish a stable foundation for subsequent placement and reflow soldering processes.