Introduction
In the field of PCBA manufacturing, hybrid assembly combining SMT (Surface Mount Technology) and DIP (Dual In-Line Package) is a very common scenario. How can the challenge of soldering components on both sides of a board be perfectly resolved while ensuring high efficiency and low cost? The SMT Red Glue Process is the core manufacturing solution designed specifically for this purpose.
This article provides an in-depth analysis of what SMT red glue is, its core functions, typical application scenarios, and its fundamental differences from the solder paste process, helping electronics engineers and procurement professionals optimize manufacturing processes and reduce production costs.


What Is SMT Red Glue? Its Core Functions and Physical Properties
1. Definition and Curing Characteristics of Red Glue
SMT red glue (commonly referred to as SMT mounting adhesive or bonding agent) is a polyolefin compound. It differs fundamentally from traditional solder paste:
- Solder Paste: Melts into a liquid when heated to its melting point and forms electrically conductive solder joints upon cooling.
- Red Glue: Undergoes a direct thermal curing reaction when heated. Its setting point is typically 150°C. upon reaching this temperature, the red glue rapidly transforms from a paste-like state into a hard solid.
2. The Core Function of Red Glue
In mixed assembly processes, red glue is not used to establish electrical connections but rather serves a physical fixation role.
- Application Location: Red glue is typically precisely filled or printed into the gap between two pads (below the waist of the component body) and must never cover the pads (which is the exact opposite of solder paste).
- Non-conductivity: After curing, red glue possesses extremely high insulation resistance and is non-conductive. Therefore, it can be safely bonded beneath electronic components to prevent them from falling off due to gravity or the force of molten solder during the subsequent high-temperature wave soldering process.
Why Use Red Glue? A Fundamental Comparison Between Red Glue and Solder Paste Processes
For a more intuitive understanding, we can compare the differences between the red glue process and the traditional solder paste process using the table below:
| Characteristic/Process Dimension | SMT Red Glue Process | SMT Solder Paste Process |
| Primary Function | Physical and mechanical fixation, prevention of component detachment | Electrical connection and physical soldering |
| Application Location | Between the two pads (on the belly/waist of the component) | Must be precisely applied over the pads |
| Stencil Apertures | Apertures spaced between pads, avoiding the pads | Apertures corresponding to the pads |
| Thermal Response | Thermosets at 150°C, turning into a solid | Melts into liquid tin at high temperatures, forming solder joints upon cooling |
| Electrical Properties | Completely insulated, non-conductive | Highly conductive |
Two Main Application Scenarios and Process Flows for the SMT Red Glue Process
On actual SMT production lines, depending on the component density on both sides of the PCB, the red glue process is primarily divided into the following two classic scenarios:
Scenario 1: Mixed Process of Single-Sided SMD + Single-Sided DIP (Pure Red Glue Process)
This is the most classic red glue application scenario, suitable for boards where Side A consists entirely of SMD components and Side B consists entirely of DIP through-hole components.
Design Logic: To avoid thermal damage to components caused by a "single-sided reflow + single-sided wave soldering" two-pass process, the SMD components on Side A and the DIP leads are soldered in a single pass during wave soldering on Side B.
Standard Process Flow:
Side A Dispensing/Solder Paste Printer: Apply red glue precisely using a specialized dispenser, or use a screen printer with a dedicated red glue stencil to apply it to the center of the pads.
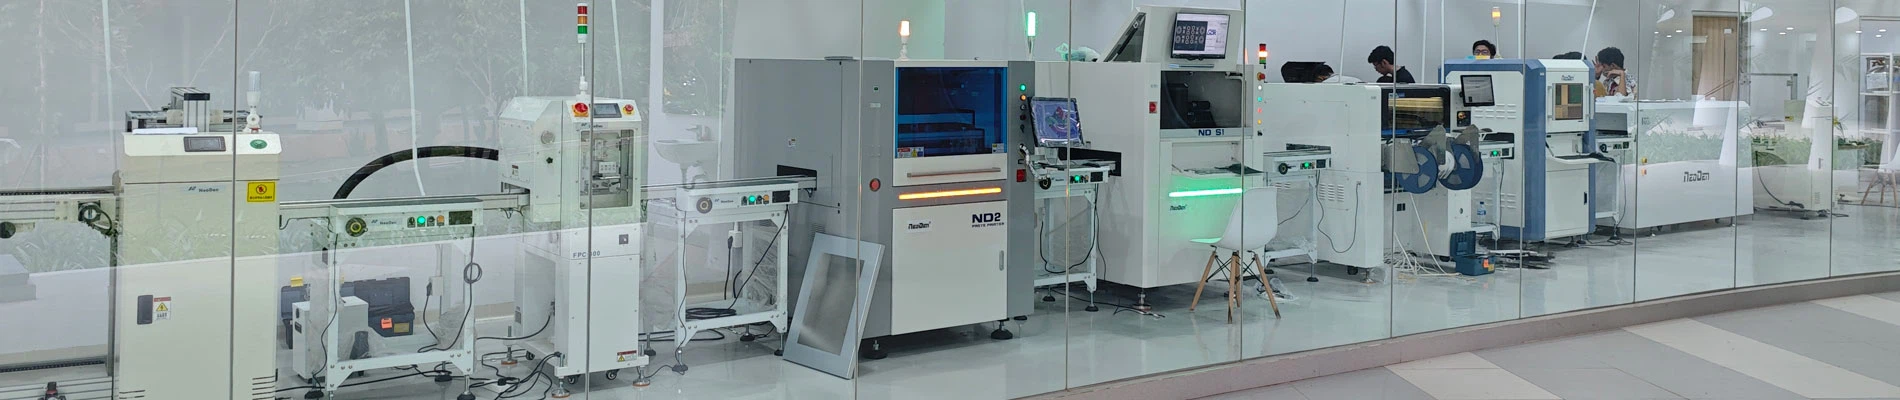
1. SMD Placement: An SMT machine (such as the high-end NeoDen series) precisely places the surface-mount components onto the PCB coated with red glue.
2. Reflow Soldering and Curing: The PCB enters the reflow oven. At this stage, the primary function of the reflow oven is to provide a high temperature of 150°C or higher to fully cure the red adhesive, firmly bonding the components to the PCB (the solder paste does not melt at this stage).
3. Flip to Side B and DIP Insertion: The cured PCB is flipped over, and DIP through-hole components are inserted from Side B (this can be done via automated insertion machines or manual assembly).
4. Wave Soldering (Single-Pass Soldering): The PCB enters the wave soldering machine. At this point, the A-side (which serves as both the SMD placement side and the DIP soldering side) faces the surging wave of molten solder. Due to the strong adhesion of the red adhesive, the SMD components will not fall off, and the solder will simultaneously cover both the DIP leads and the SMD component terminals, achieving full-board soldering in a single pass through the machine.
- Expert Tip: If the red glue process is not used in this scenario and the solder paste process (solder paste printing + placement + reflow) is mistakenly applied to Side A, then after DIP insertion on Side B is complete, when Side A is immersed in the wave soldering machine again as the DIP soldering surface, the existing SMD component solder joints on Side A will remelt, causing components to fall into the solder bath on a large scale.
Scenario 2: Mixed Process of Double-Sided SMD + Single-Sided DIP (Solder Paste + Red Glue Hybrid Process)
When the PCB design is more complex and Side B (the wave soldering contact surface) contains not only DIP pins but also some SMD components, this complex hybrid process must be used.
Standard Process Flow:
- Conventional soldering of SMD components on Side B: Completed according to the standard solder paste process (solder paste printing → component placement → normal reflow soldering).
- Dispensing/printing on Side A (reverse side): Flip the board and dispense red adhesive onto the center of the SMD pads on Side A (or apply red adhesive using a stencil).
- SMD Placement: The SMT machine positions the required SMD components on Side A.
- Reflow Curing: The board enters the reflow oven again to fully cure the red adhesive on Side A, securing the components in place.
- Side B DIP Insertion: Insert DIP (through-hole) components (manually or by machine).
- Wave Soldering (Single-Pass Tinning): The board undergoes a final, full pass through the wave soldering machine, where the SMD components on Side A and the DIP leads are tinned in a single pass through the solder wave.
If the red glue process is not used, what are the alternative options?
In modern industrial automated manufacturing, while the red glue process eliminates the need for solder paste printing and reduces some costs, it also has drawbacks such as high maintenance costs for dispensing machines, contamination from red glue residue, and a high risk of solder bridging during wave soldering. If you do not wish to use the red glue process, there are typically two mainstream alternative technical solutions:
Fabricating an explosion-proof wave soldering fixture (composite stone reflow pallet)
- Principle: First, use a pure solder paste process to complete the soldering of all double-sided SMD components. When assembling DIP components via wave soldering, a custom wave soldering fixture (pallet) is used to completely shield and protect the already soldered SMD components, exposing only the DIP leads that need to be soldered.
- Applicable Scenarios: Medium- to high-volume production for PCBs where the spacing between SMD components and DIP pins is relatively large.
Using Selective Wave Soldering
- Principle: As with the full-board process, SMD solder paste reflow soldering is completed first. When processing DIP components, instead of using traditional immersion soldering in a large solder bath, the electromagnetic pump and micro-nozzles of the selective wave soldering system are utilized to apply solder precisely to individual DIP pins in a "dot-to-dot" manner, much like a typewriter.
- Applicable Scenarios: High-precision electronic manufacturing, automotive electronics, military, and medical applications-where reliability requirements are extremely high and component density is high-completely eliminating the need for red glue and reflow jigs.

Conclusion: How to Choose the Process That Best Suits Your Needs?
As a cost-effective, classic hybrid assembly technology, the SMT red glue process remains widely adopted in consumer electronics, power supply boards, and home appliance control boards. A proper understanding of the fundamental principles-namely, the role of red glue in securing components at the center of pads, its thermal curing at 150°C, and its function in support of wave soldering-can help companies avoid serious quality issues such as "component detachment" and "missed solder joints" during the process design phase.
As a professional expert in complete SMT production lines, NeoDen provides you with a full suite of automated solutions, ranging from high-precision placement machines and screen printers to reflow ovens and dispensing machines. If you have any questions regarding the SMT red glue process or production line setup, please feel free to contact our process engineers at any time for customized technical support.